Baseboards, crown molding, and other trim provide a distinctive look, but they often need to be removed when remodeling. When removing trim, it is crucial to avoid damaging the wall, and those who want to reuse the trim will need to leave it intact as well. Follow these steps to remove the trim as efficiently as possible.
Cut Away Built-Up Paint
If the trim or the area around it has been painted multiple times, you probably have years of paint gluing the trim to the wall. Use a sharp utility knife to cleanly slice through the dried paint around the trim.
Loosen the Trim With a Putty Knife
Select a thin, flexible putty knife and slide it along the edge of the trim. Be gentle, but gradually coax a crack to form. You need this crack to be big enough to fit a pry bar in eventually. You may want to use a mallet to tap on the putty knife if the trim is very tight. Then wiggle it back and forth until you have enough space.
Start Prying Carefully
Take a small pry bar and insert it into your crack. Place the putty knife between the bar and the wall, so you do not gouge it as your lever. To avoid putting holes in your drywall or plaster, only pry at studs, where the wall will be reinforced. Start on one end of the trim and work your way down. In mitered corners, remove the whole trim as a single piece to avoid damage.
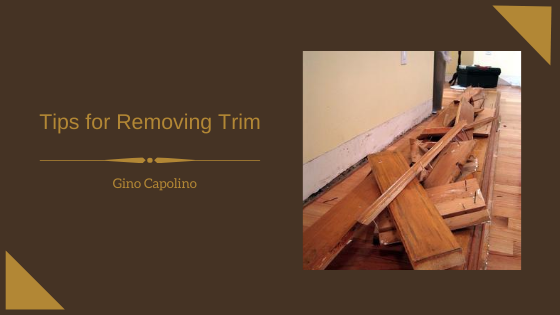
Label Trim as It Is Removed
Those who plan to use trim should take the time to label its original location as it is being removed. Once trim is off the walls, all the different lengths and styles can look surprisingly similar. Labels will make it easier to reattach it later.
Pull Nails Out Instead of Pounding
Pounding out the old nails from the trim is a bad idea because it tends to make the trim splinter and crack. Instead, use end cutting nippers to grab the base of the nail. Gently pull the nail out from the back, so the face of the molding will remain undamaged.